Confident Instrument Setup for a Busy Summer Schedule
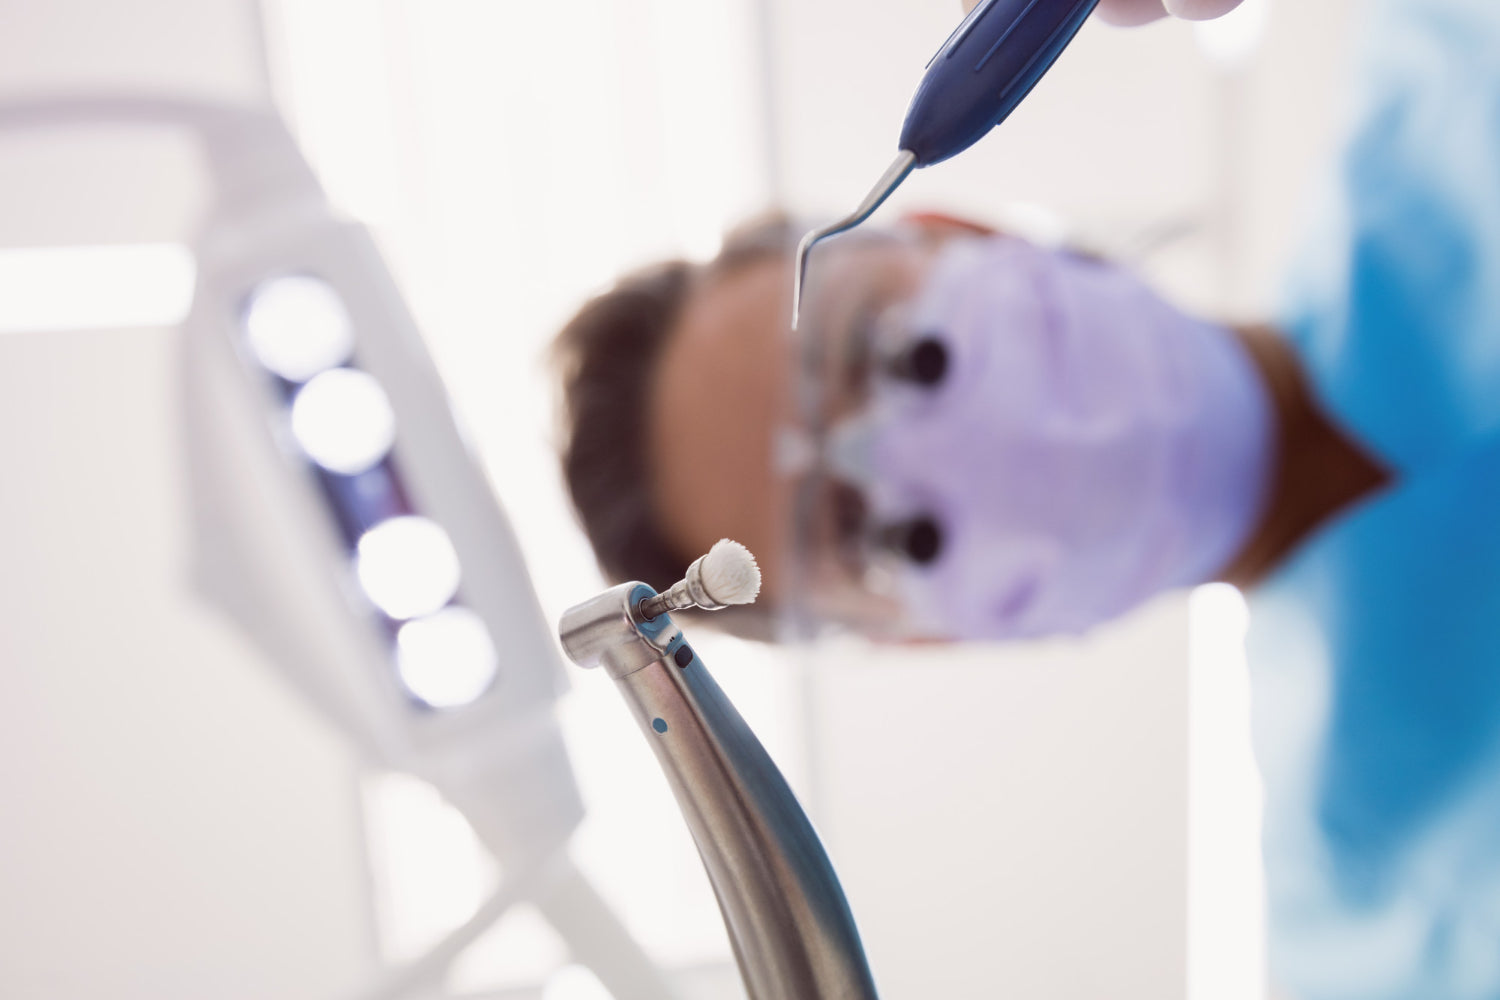
Strong instrument habits can make a long day in the operatory feel calmer and more controlled. When the schedule is packed and patients are coming in one after another, the way we set up and handle surgical instruments can either support us or slow us down. New dentists feel this very quickly, especially through busy summer weeks.
In this guide, we are focusing on simple, repeatable ways to set up, pass, and care for dental surgery instruments. The goal is not to give clinical advice, but to help you build a smooth, professional workflow that supports your own training, your local regulations, and your team. Reliable, clinician-tested instruments and ergonomic supports then become part of that bigger system, not an afterthought.
Building an Efficient Dental Surgery Tray Layout
A consistent tray layout is like a map everyone on the team can read. When instruments sit in the same place every time, there is less searching, fewer interruptions, and clearer communication between dentist and assistant. That matters even more when you are running behind on a hot summer afternoon and just want the next instrument to be right where you expect it.
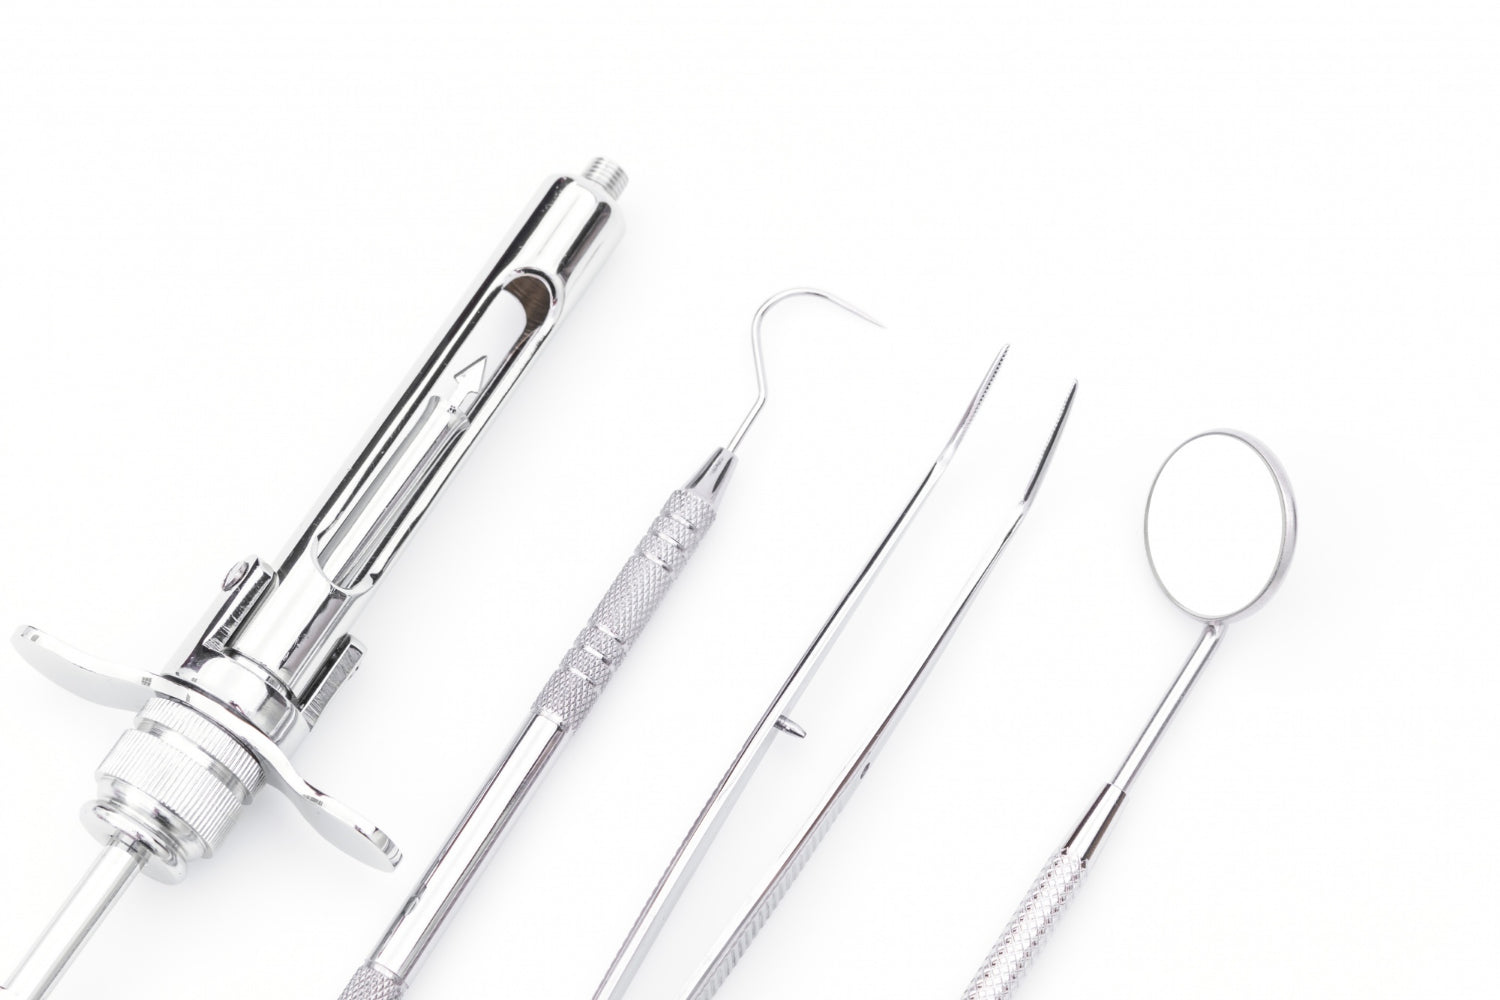
Many practices like to sort instruments on the tray in the order they are commonly used, for example:
- Examination and diagnostic tools at the front
- Retraction and mirrors close by
- Cutting and separating instruments grouped together
- Suturing and closure tools placed toward the end
Within that flow, clear visual organization helps. You might separate sharp items so they are easy to spot and handle carefully. Colour coding or simple labels on cassettes can make it easier to grab the right set for a given type of the procedure. Backup items can sit on a side cart rather than crowding the primary field.
Ergonomics shape this layout too. Good lighting and an adjustable stool, such as our saddle-style saddle stool, support steady hands and more relaxed posture, which makes fine instrument handling feel easier on a long day.
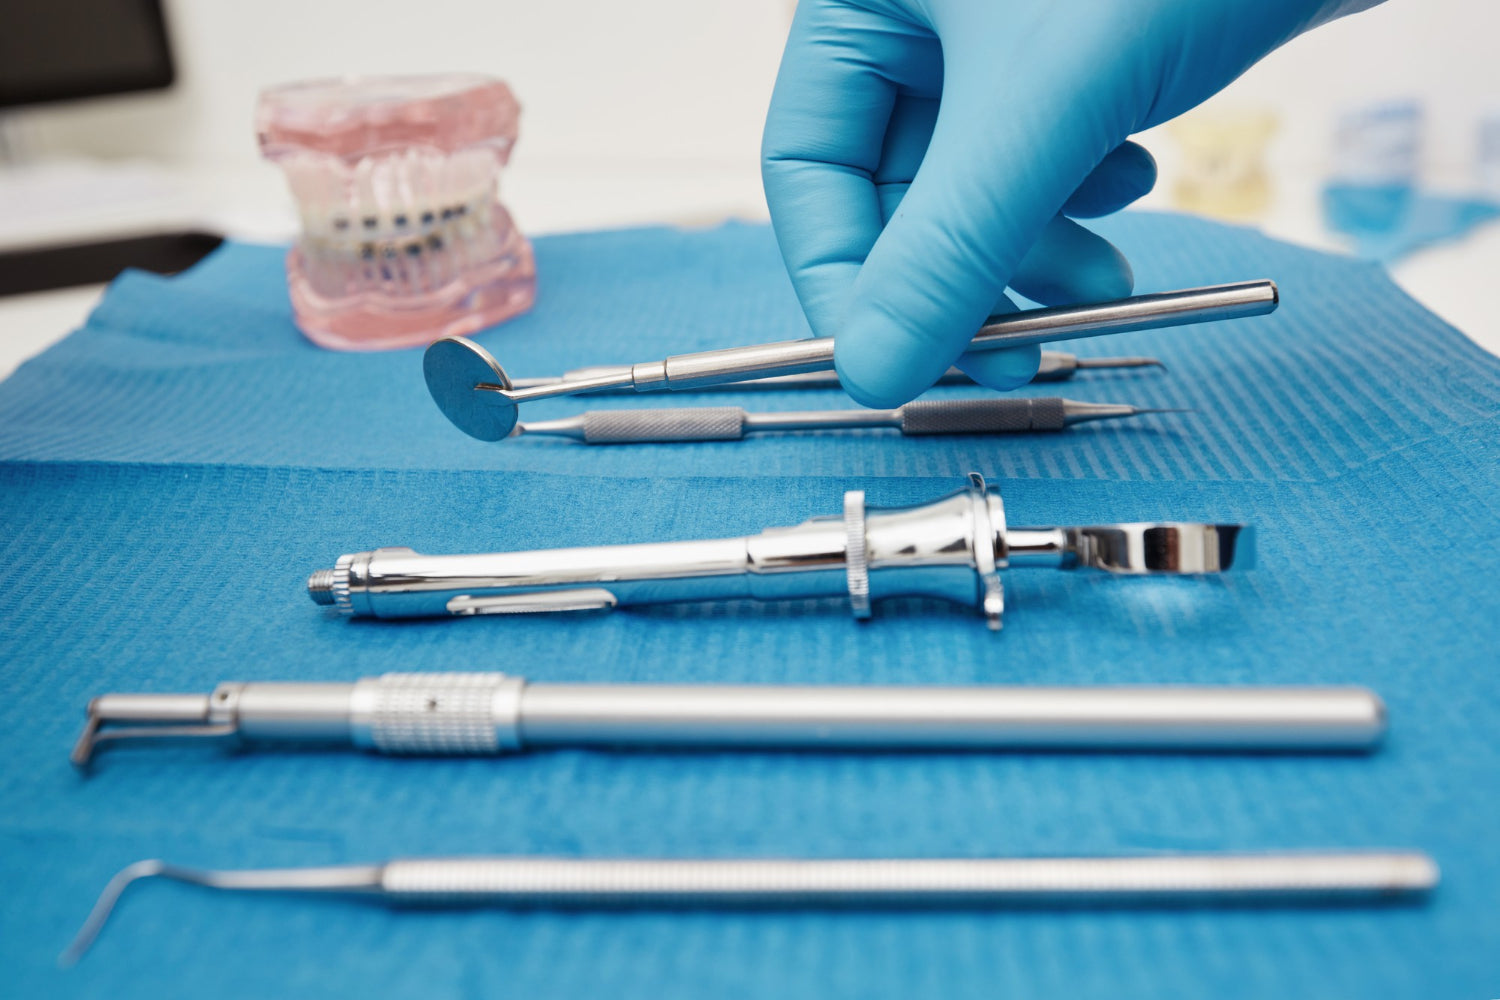
Safe Passing Techniques Between Dentist and Assistant
Safe instrument passing is really about being predictable. When both dentist and assistant know exactly how and where items will be passed, there is less chance of drops, confusion, or accidental contact with a sharp edge.
Some general habits many teams find helpful include:
- Keeping a “neutral zone” on or near the tray where instruments are placed and picked up
- Using consistent hand positions, so the working end is always facing the same direction
- Adding simple verbal cues if someone’s attention might be split
- Returning instruments to the same spot after use, not letting them drift across the tray
Different tools may call for slightly different handling. A blade may be passed with the cutting edge turned away from both people, while a needle holder is usually offered by the handle so the dentist can grip in their normal working position. Retractors and mirrors might be easier to pass with a quick visual cue instead of a full verbal request.
As you gain experience, the assistant often starts to anticipate the next instrument based on the stage of the procedure, without anyone needing to rush or guess.
Everyday Infection Control Habits for Dental Instruments
Infection control is not a single step; it is a pattern of daily habits. Local rules and professional guidance are the foundation, and these can differ by province, territory, or country, so it is important to follow the requirements that apply to your clinic.
Across many operatories, you will often see concepts like:
- Clear separation of clean and soiled zones in the treatment and reprocessing areas
- Immediate, careful handling of used instruments so they are not left on open surfaces
- Consistent use of appropriate personal protective equipment when handling contaminated items
- Thoughtful workflows that avoid crossing clean paths with soiled ones
Well-designed cassettes, containers, and well-maintained surgical instruments can support these habits by giving everything a clear “home” and making it easier to move sets through cleaning and sterilization without mixing them up.
Preparing Instruments for Cleaning and Sterilization
What happens between the dental chair and the sterilizer can shape both safety and instrument life. Careful transport, early removal of visible debris, and a quick visual check can support a smoother reprocessing cycle.
Common organizational choices include:
- Sorting instruments by type or procedure before cleaning
- Securing sharps for safer handling in transit
- Using trays or cassettes that are designed to handle the reprocessing environment
This is also where manufacturer instructions matter. Each product may have its own recommendations for cleaning and reprocessing. Professional guidelines from regulatory bodies and associations should guide your decisions, rather than general information alone. For example, when working with dental and medical sutures, many teams store and handle them in ways that fit both the product information and clinic policies.
Long-Term Care, Replacement Planning, and Everyday Workflow
Over time, even the best instruments can show signs of wear. A simple habit of checking alignment, sharpness, and handle integrity during regular maintenance can help you plan replacements instead of being surprised mid-procedure.
You might build a checklist that looks at:
- Tips and jaws for bending, chips, or gaps
- Cutting edges for dragging or slipping
- Handles and connections for cracks or looseness
- Moving parts for stiffness or rough spots
Ergonomics plays a long-term role here too. Balanced hand instruments and supportive seating can help you keep steady technique, even on days with back-to-back surgical appointments. Many dentists find that planning an inventory routine for consumables like blades and sutures keeps stress down. Grouping core tools into sets that match common procedures can make reordering more straightforward, especially when paired with trusted sources for surgical instruments, sutures, blades, operating room tools, and related accessories.
Stock planning can include sharpened or replacement hand instruments, storage cassettes, and items such as staplers where appropriate to your scope of practice and local rules.
Putting Your Instrument Workflow Into Practice
Instrument handling skills grow over time, like any part of clinical practice. Rather than changing everything at once, it can help to pick one focus area, such as tray layout, passing technique, or reprocessing organization, and refine that piece first. Once it feels natural, add the next step.
Working closely with your dental assistant and the rest of your team is one of the easiest ways to make these habits stick. Many clinics use written checklists, colour-coded diagrams, and short in-office demonstrations so everyone sees the same process. As regulations and guidelines evolve, you can adjust these systems to stay aligned with current expectations while keeping your daily routine clear and calm.
With consistent habits, thoughtful layouts, and well-chosen surgical instruments and supports, your instrument workflow can become one of the most reliable parts of your growing practice, even when the summer schedule is fully booked.
Equip Your Team With Reliable Surgical Tools Today
Trust ProNorth Medical to provide consistently dependable surgical instruments that support precision and patient safety in every procedure. We carefully source and quality-check our products so your team can focus on care, not equipment issues. Explore our range to find the right fit for your practice, and reach out if you need guidance on selecting specific tools for your workflows.
Leave a comment
This site is protected by hCaptcha and the hCaptcha Privacy Policy and Terms of Service apply.