Opening a new dental clinic in Canada means getting your first operatory ready fast, especially as early summer appointments start to stack up. A clear plan for your basic dental equipment helps you stay calm, keep your team organized, and give every patient the same smooth experience from day one.
Here, we will walk through how to think about your setup at a high level. We will focus on equipment categories, simple planning tips, and how to match your gear to your space, your services, and Canada’s very Canadian seasons, without getting into clinical techniques or treatment advice.
Building a Confident First Operatory Setup
When you are racing to open before summer cleanings, sports mouthguard checks, and back-to-camp visits, it is easy to start buying equipment piece by piece. That can lead to clutter, gaps, and a setup that never quite feels finished.
A basic dental equipment plan for your first operatory should keep three things in mind:
- A consistent experience for every patient
- A smooth path for your team to move, sit, and work
- Room to grow into more advanced tools later on
Thinking in categories keeps you focused. Instead of asking, “What else do I need?” you can ask, “Do I have the basics covered for exams, hygiene, restorative work, and sterilization?”
Clarifying Your Clinic Vision Before You Buy
This planning style works best for general dentistry clinics building their first or second operatory, not for surgical-only or specialty setups. Your mix might be family care, hygiene-heavy schedules, or a stronger cosmetic focus, but you still start with many of the same basics.
Before you start ordering, it helps to decide:
- Are you mostly seeing families, busy professionals, or a mix?
- How many hygiene hours do you expect each day?
- How tight is your operatory footprint and storage space?
Canadian clinics also have a few extra pieces to think about. Smaller or remote communities may need longer shipping timelines and more backup stock. Local climate affects where you place storage and sterilization areas, especially with cold winters and humid summers. Planning for those shifts now keeps you from scrambling when late summer and early fall schedules get busy again.
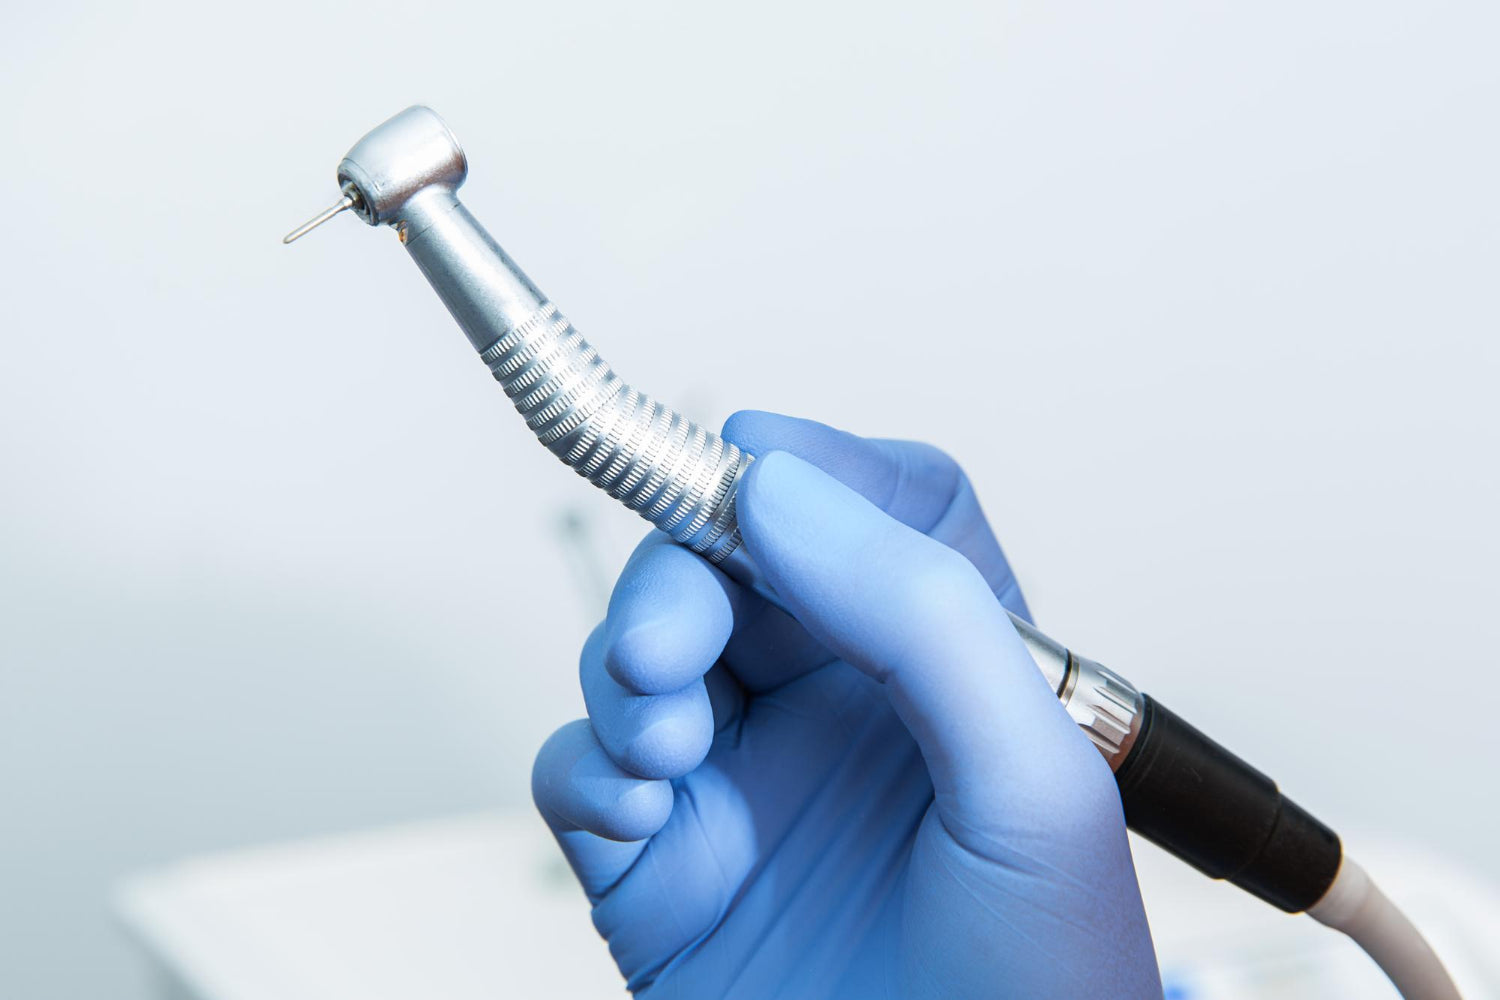
Core Operatory Furniture and Delivery Systems
Your operatory starts with the big pieces: the dental chair, delivery system, operator and assistant stools, and overhead lighting. The goal is not to collect fancy gear, but to support comfortable, repeatable workflows for every appointment.
A solid basic setup usually includes:
- A patient chair with simple, reliable controls
- A delivery system that keeps lines tidy and easy to reach
- Ergonomic operator and assistant stools
- Lighting that can be adjusted for angle and intensity
Ergonomics matters for long careers. Adjustable stools and well-placed lighting help reduce bending, twisting, and eye strain. Some teams find that saddle-style seating, like the options at this saddle stool page, supports healthy posture through back-to-back procedures.
For Canadian clinics, also think about:
- Power and plumbing access in older buildings
- How easy it is to get service or replacement parts
- Shipping and install timing around summer and back-to-school rushes
Downtime during those seasons can be hard to recover from, so reliable support is just as important as the equipment itself.
Basic Dental Equipment for Everyday Procedures
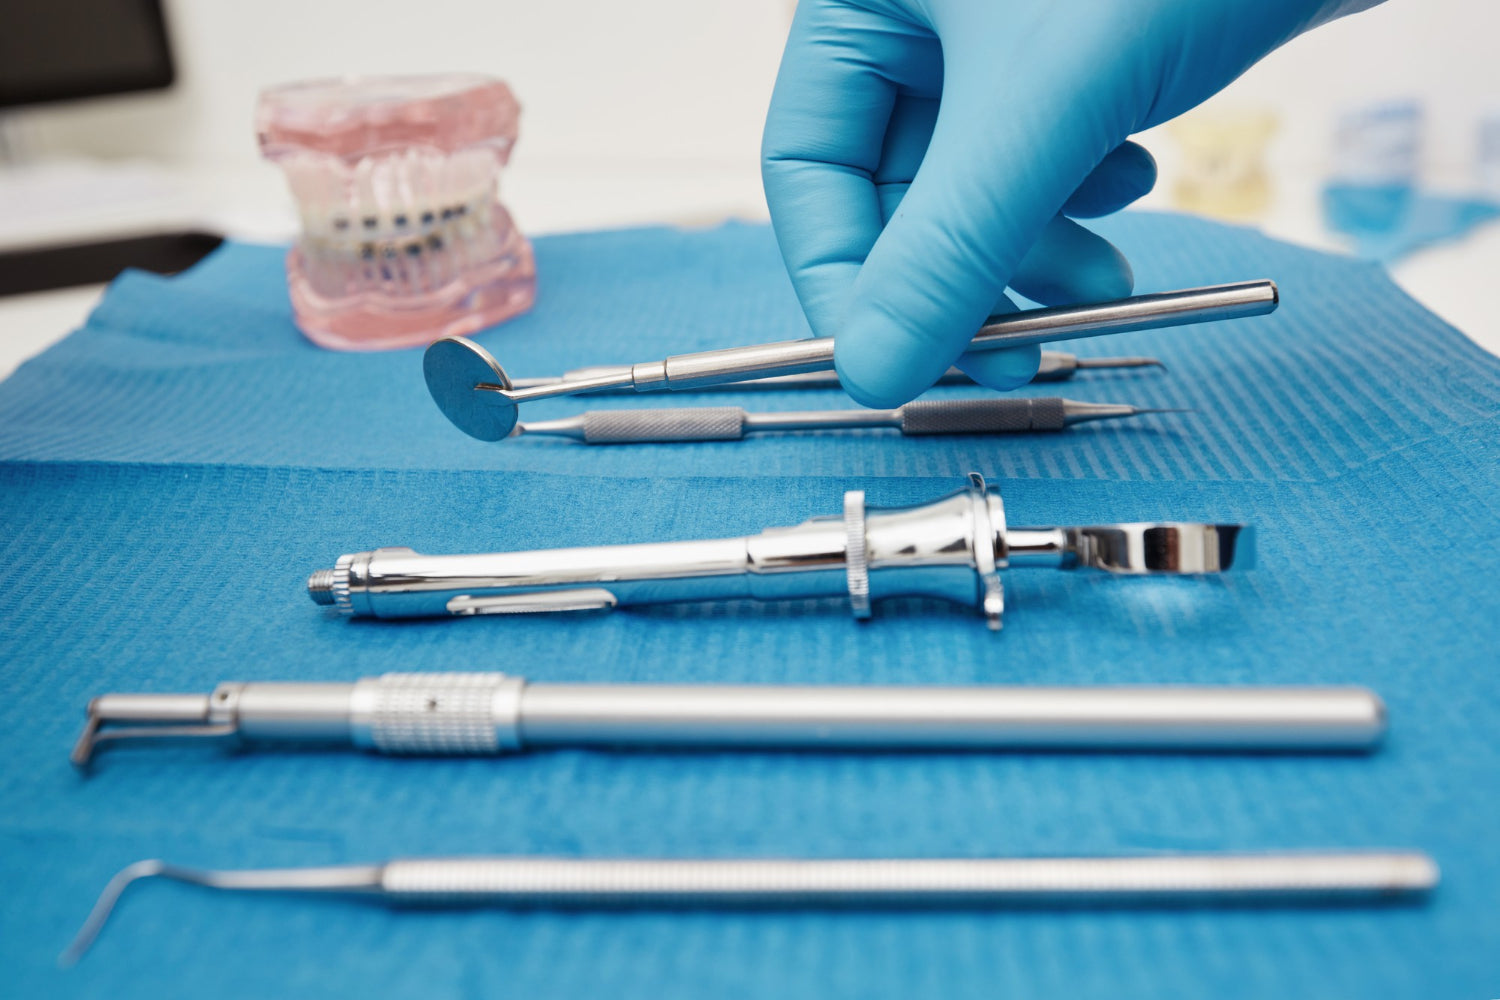
Once your furniture and delivery system are set, you can plan your basic dental equipment for daily work. Start with items you will grab multiple times every hour, across exams, hygiene, and simple restorative visits.
Common categories include:
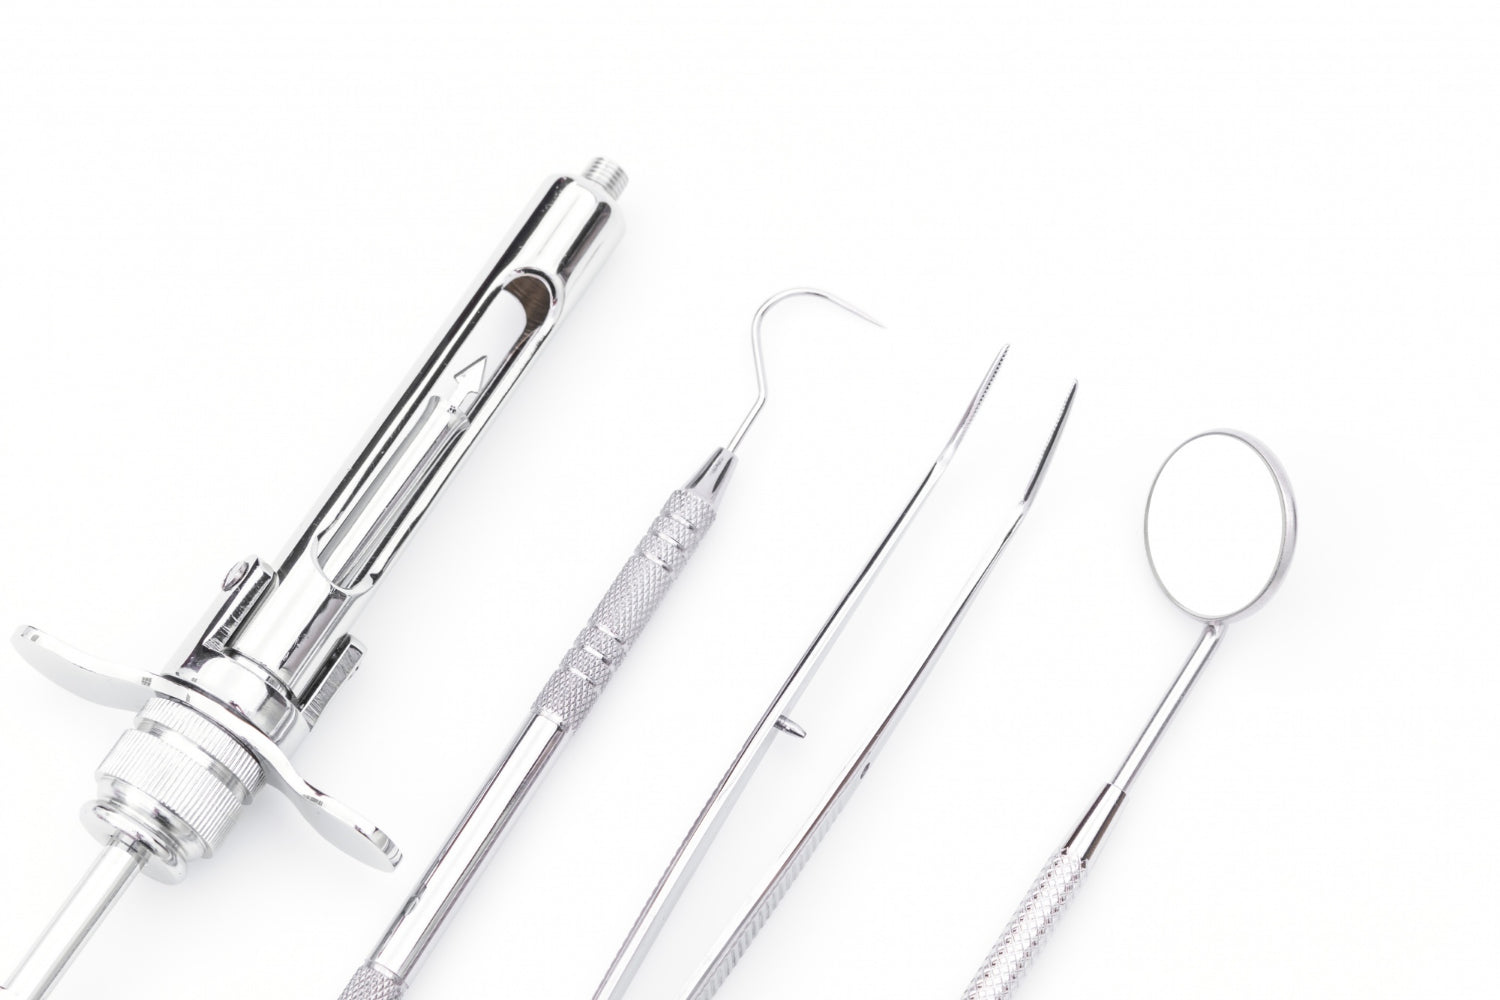
- Examination tools like mirrors, explorers, and tweezers
- Basic restorative instruments such as condensers, carvers, and burnishers
- Impression trays in sizes that fit your patient base
- Non-procedural items like trays, organizers, and simple caddies
It is usually smarter to start with fewer, better-made instruments that staff will use constantly, then expand into special tools after you see real patterns in your schedule. Matching instrument lines, including related items like dental and medical sutures where relevant, can make training easier for new team members joining during busy months. Consistent handle styles and finishes help everyone know quickly what they are picking up and how it feels in the hand.
Infection Control Essentials and Sterilization Workflow
Your sterilization area is the quiet engine of the clinic. Planning that space and the basic equipment that supports it keeps your ops running on time, without giving any clinical infection control advice.
Useful categories to think about include:
- Instrument cassettes and trays
- Ultrasonic cleaners
- Sterilization pouches and wraps
- Storage bins for clean and “ready to reprocess” instruments
Work backwards from your schedule: how many hygiene and restorative visits do you expect before lunch, and how many sets of basic instruments do you need to support that flow from chairside to cleaning to storage? That helps you decide quantities, not just types.
Canadian clinics often do well with a bit more storage for bulk supplies, especially when shipping takes longer to smaller communities. Planning backup items before late summer, when families squeeze in visits before school, keeps gaps from turning into last-minute cancellations.
Clinical Comfort and Team Ergonomics
Comfort is not a luxury for your team, it shapes how long and how happily people can work. Basic dental equipment choices can quietly support that comfort every single day.
Helpful areas to consider:
- Ergonomic loupes accessories and simple headband supports
- Instrument handle shapes and textures that are easy on hands
- Positioning aids that help place patients without awkward stretching
Balanced scissors, forceps, and other hand instruments can reduce strain, especially over years of daily use. Colour-coding, standardized grips, and organized caddies cut down on clutter and confusion. When new staff join in summer, a clean layout with clear systems lets them feel productive much faster.
Even small touches, like pairing your seating choices with your instrument layout, matter. Some clinics match saddle stools with specific tray setups so both the posture and reach feel natural.
Planning Your First Order with Confidence
Before you speak with any supplier, it helps to write a simple, three-part checklist.
- Operatory furniture and delivery systems
- Clinical basics for exams, hygiene, and restorative work
- Sterilization and infection control support equipment
Start with a strong base of flexible, daily-use tools. After a few months of real patients, you will see where you truly need more specialized gear, like certain surgical items or staplers and related instruments for specific treatment types. This phased approach keeps your rooms functional now while leaving space to grow into your long-term vision for the clinic.
Upgrade Everyday Comfort With Smarter Seating
If you are looking to refresh your operatory with reliable basic dental equipment, we are here to help you choose options that support comfort and efficiency. At ProNorth Medical, we focus on products that reduce strain so you can focus on delivering great patient care. Explore ergonomic seating that fits your workflow and helps you feel better at the end of each day. Reach out to our team if you have questions about finding the right fit for your practice.
Leave a comment
This site is protected by hCaptcha and the hCaptcha Privacy Policy and Terms of Service apply.