The last thing you want at your vet clinic is to pass infections from one animal to another. Not only is this dangerous but is likely to lead to lawsuits and probable closure of your clinic. Although contamination can take place in a variety of ways, the most common source of infection is through contaminated vet instruments.
Read on to find out how you can minimize the chances of this happening by cleaning and sterilizing your vet instruments.
Cleaning
As you may know, it is important that you clean all your vet instruments after you have used them. What you may not know is that you should do so within thirty minutes of using them. This is meant to remove all tissue and other biological contaminants from the instruments. Cleaning them immediately reduces the chances that this biological material will contaminate other surfaces. Another trick is to immediately wrap them in a wet cloth as you wait to wash them. This serves two purposes; to protect other surfaces from getting contaminated and to ensure that blood does not dry on the instruments, making it harder to remove later when you wash them.
Disinfection
Most vet clinics immerse their washed instruments into a solution of enzymatic detergent to disinfect them. The instruments are left in the solution for about 30 minutes and then rinsed using demineralized water. When this is completed, you can dry the instruments with a paper towel.
Lubrication
The reason why it is important to lubricate your hand instruments is that cleaning might lead to some of the moving parts becoming stiff. Metal to metal friction during the cleaning process could also lead to corrosion, which might open up your instruments to contaminants. To get around this problem, vets will often lubricate their instruments after they have dried. The most effective way to lubricate them is to use spray lubricant which minimizes contact with the instrument (and re-contamination).
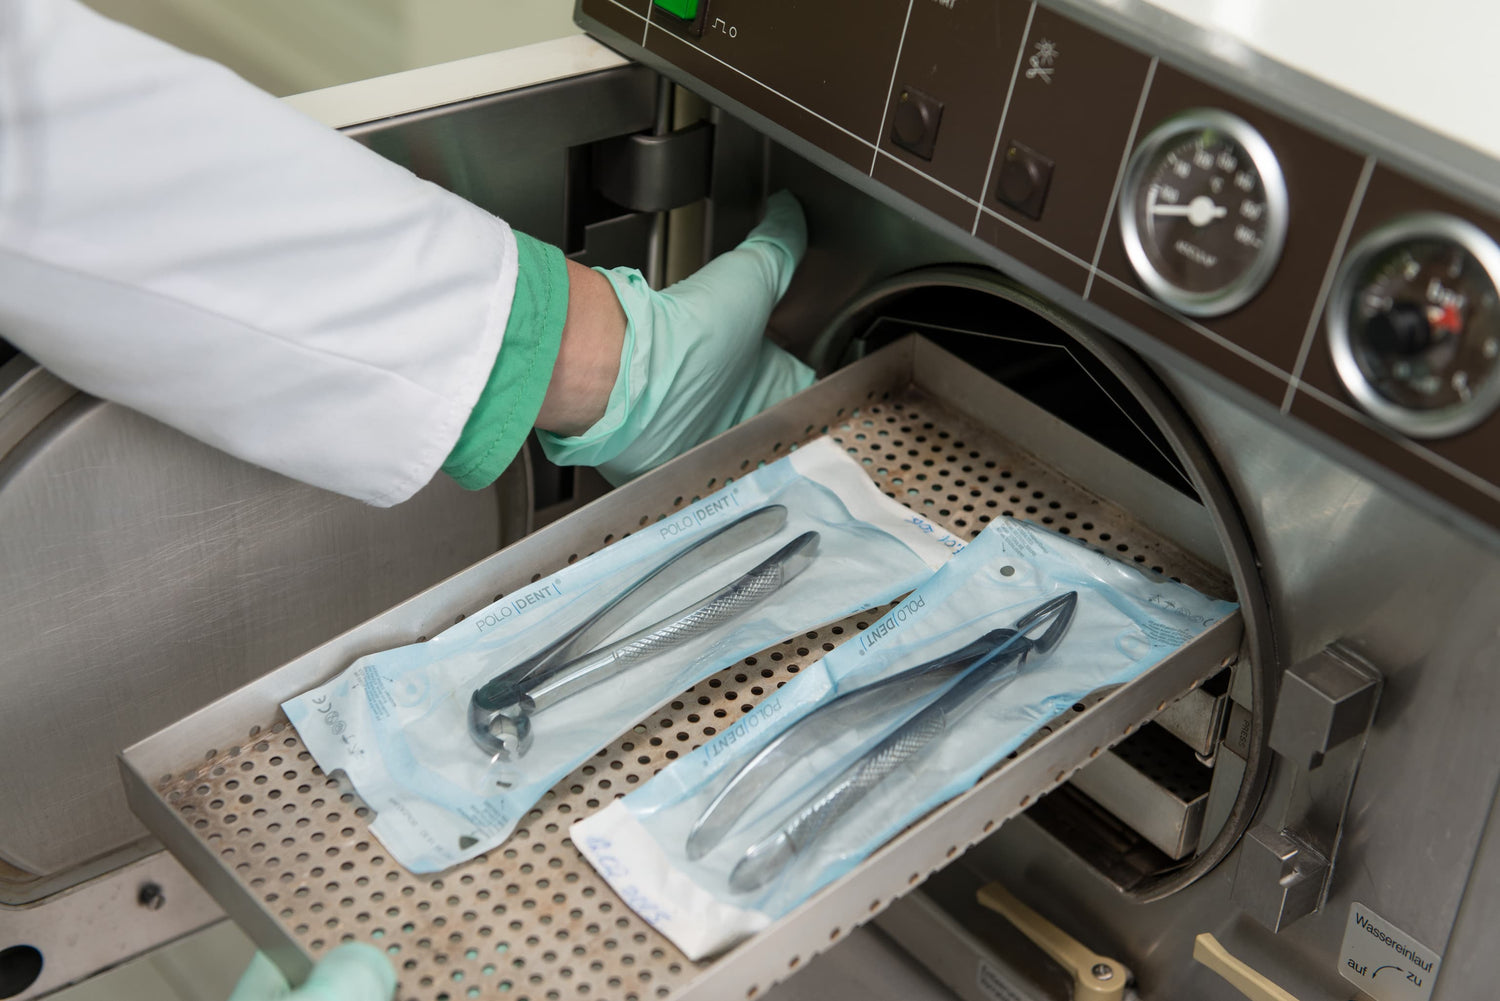
Sterilization
Before undertaking this step, it is critical to ensure that you have inspected all the tools. What you are looking for are any signs of tissue debris that may have survived the process so far. Be on the lookout as well for any un-lubricated parts of the instruments. If you spot any of these, you should put the instrument through the process again to ensure that it is completely clean. If everything is fine, you should sterilize them. Most vet clinics use autoclaving to do this. This uses steam to sterilize the instruments. There are some things to note during this process. The first is to ensure that all closed instruments are open so that the steam can reach all parts of the instrument. You should also use the recommended temperature as per the user manuals to ensure that you do a proper job. Finally, do not overcrowd the autoclaving trays as this will prevent the steam from effectively reaching all the instruments.
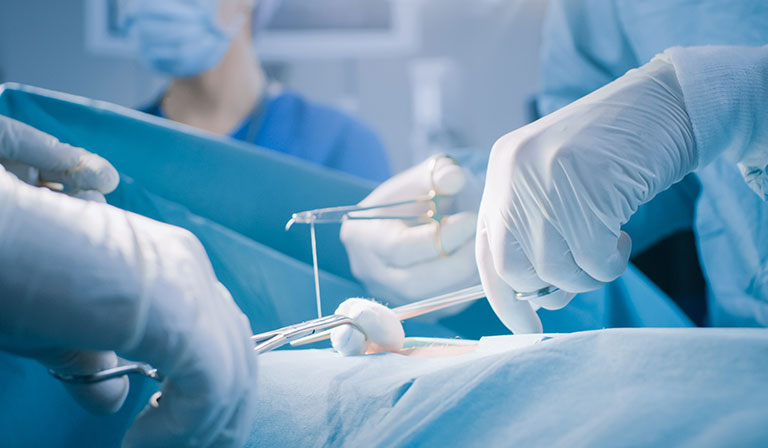
The key to keeping your vet instruments clean is to constantly be aware of possible contaminants. For example, keeping your hands clean and using medical gloves at all times ensures that you do not recontaminate your sterile instruments.
Leave a comment
This site is protected by hCaptcha and the hCaptcha Privacy Policy and Terms of Service apply.