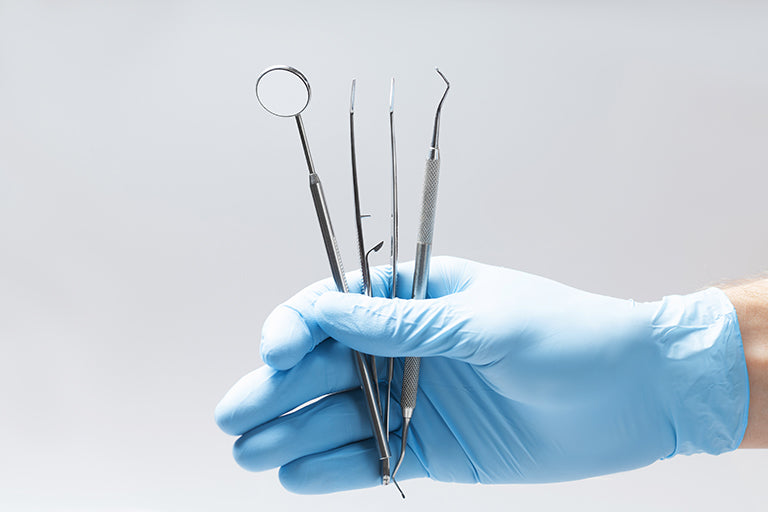
Sharp hand instruments, such as scalers and curettes, are used for scaling and root planing as they are effective at removing hard deposits from teeth. However, over time, small particles of metal are worn off at the instrument’s tip, causing the cutting edge to become dull and compromising its effectiveness.
The problem with dull instruments is that they cannot complete procedures as quickly and can cause discomfort and strain to both the operator and the patient. Dull scalers and curettes cannot remove calculus from the teeth and will glide across the tooth’s surface instead. To prevent any problems, dental instruments should be sharpened routinely. Here are our top tips on keeping your dental instruments sharp and ready for use.
What You Need for Sharpening
There are a variety of tools available for sharpening dental tools. The most popular option is sharpening stones. They can be organic, such as Arkansas and India stones, or synthetic, such as ceramic stones.
Sharpening stones vary by grit. The grit of the stone determines the speed of sharpening and the fineness of its edge. A grittier stone is usually used for very dull instruments or minor instrument repairs, while a softer stone is used as a finishing stone to produce a more refined edge.
The stones also come in different shapes and sizes. We recommend using a wedge-shaped angled slip stone with one conical edge and one straight edge, as it is the most versatile.
Lubrication methods also differ depending on the type of stone. Medical-grade honing oil is required for India and Arkansas stones and should be applied immediately prior to use. For ceramic stones, water is sufficient as a lubricant.
Stones should be cleaned periodically with a stiff bristle brush and mild detergent, then air-dried. Most stones can also be autoclaved if sterility is needed. Make sure to switch out sharpening stones regularly, as worn stones can make sharpening more difficult and distort cutting edges.
How to Sharpen Dental Instruments
There are two main techniques for sharpening scalers and curettes: the stone is moved, or the instrument is moved. The moving stone technique facilitates better control and straighter movement on the instrument edge.
To begin, stabilize the instrument so that its face is parallel to the work surface with the tip pointed toward or away from the operator. Hold the tool firmly in your non-dominant hand with the elbow resting on a stable surface and maintain this position to keep the instrument still. Once positioned, hold the stone in your dominant hand and apply it against the instrument so that it is at a 70-degree internal angle. You can use a sharpening guide to make finding this angle easier while sharpening.
Then, move the stone upwards and downwards against the blade in short strokes while maintaining the correct angle. Make sure to always end on the downstroke to avoid a rough edge.
The working end of an instrument can be divided into the heel, the middle, and the tip. Always work from the heel to the tip when sharpening. Remember to preserve the instrument’s shape throughout the sharpening process and avoid removing too much material.
Rounding the Toe of a Curette
To round the tip of a curette, stabilize the instrument and hold it against a sharpening stone at a 45-degree angle. Using up and down strokes, rotate the stone around the toe to create a rounding effect.
How to Determine When It Is Sharp Enough
Visual Inspection
You can check sharpness by holding the instrument under a bright light. Angle the tool so that the edge is facing the light. A sharp cutting edge does not reflect any light. So, if you see the light reflecting off the cutting edge, that means the instrument is still dull.
Acrylic Stick Test
Apply the edge of the instrument to the acrylic stick and check for a “bite”. If there’s no “bite” or friction against the stick, then the tool needs to be sharpened.
When to Sharpen Your Dental Instruments
Ideally, dental instruments should be sharpened routinely or at the first sign of dullness. If you feel that the instrument does not “bite” or more strokes and pressure are needed to remove the deposit, that means it’s time to set it aside for sharpening. The last thing you want is to be left with dull instruments at a patient’s scaling and root planing appointment.
We recommend planning ahead and using cancellations or any downtime at the clinic to stay on track with sharpening your instruments. You can also keep a chart or mark kits to differentiate between those that have been or need to be sharpened. Gradually sharpening instruments as required will prevent you from needing to sharpen them all at once.
Are you looking for quality dental surgical instruments? ProNorth Medical is a trusted dental instrument supplier in North America. We can help you build a clinic from scratch or find the tool you need to provide the best patient experience, from reclining beds to the latest dental equipment upgrades. Contact us at 844-537-0493 or email us at info@pronorthmed.ca for more information today.

Leave a comment
This site is protected by hCaptcha and the hCaptcha Privacy Policy and Terms of Service apply.